Kayla’s Favorite Project of 2022/23: Wooden Sculptures!
My favorite project this year was definitely the Wooden Sculptures built by my preschool artists at Castle Bridge School: P.S 513! In this project, they used wood and a variety of paper materials to focus on building, stability, and layering. They worked on a small-scale which came naturally to their small hands and fingers! Working small also allowed them to hone in on smaller details within their artwork, helping them to slow down and make artistic choices with more intention.
Once they were done with the building stage, they moved on to adding color using pipettes and liquid watercolor. Our artists found dripping liquid paint onto their sculptures SO exciting not only because their art was virtually a “blank canvas” up until that point, but also because they were interested in how the paint moved and reacted to their structures, emphasizing the 3-D forms in their work.

Here was our process, step-by-step:
Build with wood. Artists began by building a wooden sculpture on their cardboard (or foam core) base using wooden pieces. They were first encouraged to experiment with stability and balance by building upwards––without glue! Once they were satisfied with the placement of their pieces, they worked carefully to glue and secure each one to their base. And after the glue was dry, artists were really excited to see if their pieces passed “The Stability Test” (a.k.a flipping their sculptures upside down to see if everything stuck!).
Add sculptural detail. After adding larger and heavier pieces to their sculptures, artists were then tasked with adding smaller pieces of cardboard and watercolor paper to their artwork. These pieces were pre cut into various geometric and organic shapes, prompting them to test out different compositions and consider answers to questions like “Should I stand this piece up?” “Should I stack it on another piece?” or “Do I need to lean this shape on the wooden piece for stability or can it exist on its own?”
Add color. We had spent several classes earlier in the year practicing and experimenting with pipettes and liquid watercolor on 2-D surfaces. It was now time to see how dripping liquid behaved on 3-D surfaces. The young artists were fascinated with this new terrain for their watery paint to move through. They studied their paint closely, dripping their paint onto round 3-D shapes, flat ones, angular ones and even moved their sculptures around to direct the trajectory of the drips themselves. The tips of their pipettes also allowed them to get into the nooks and crannies of their sculptures, causing them to slow down and explore their unique structures.
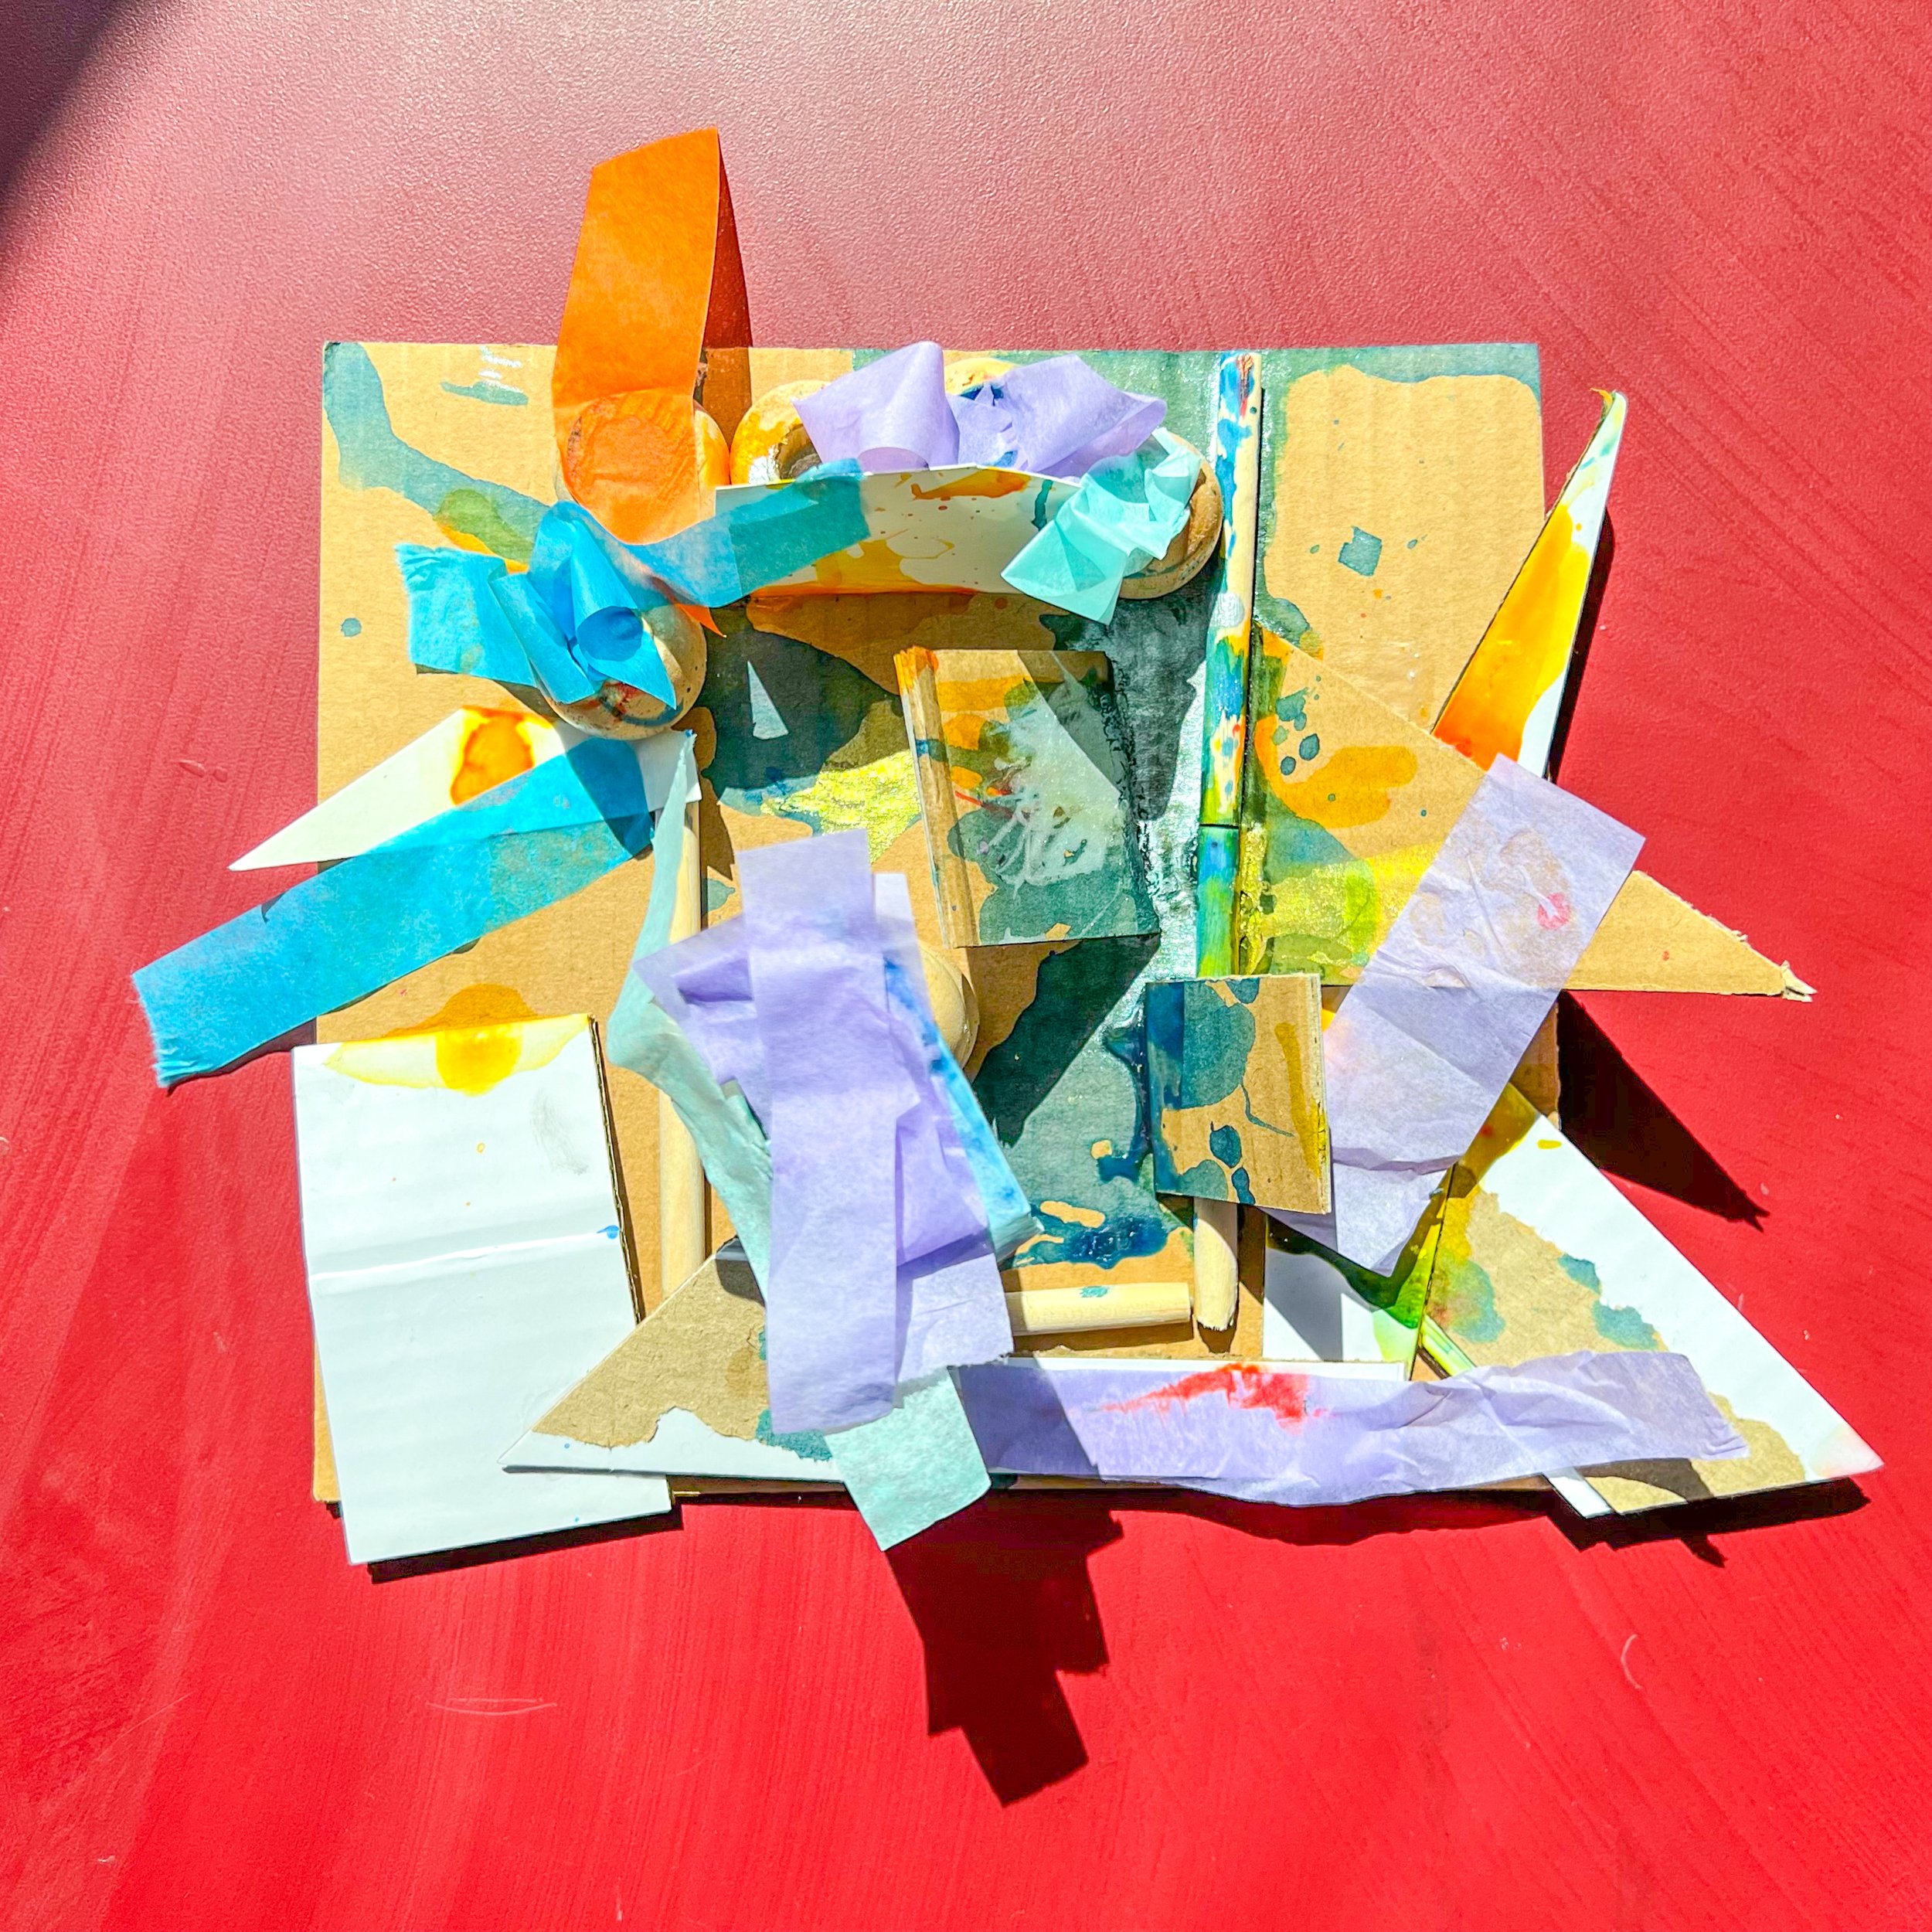
Add texture. On the last day, artists added texture to their sculptures using tissue paper. Although they had already added paper to their sculpture, this paper was slightly transparent and much more delicate––great for layering!

